Mistfall Hunter Withered Knight Build — Greatsword Duelist & Polearm Support
The best Mistfall Hunter Withered Knight build is the Greatsword Wither-and-execute duelist for solo runs and PvP, while the Polearm & Shield build is the blocking, ally-rescuing trio frontline — the choice is about role. Pick Greatsword for burst execution damage and 1v1 dueling; pick Polearm & Shield for group play, where Intervene and ranged Wither application protect teammates.
This Mistfall Hunter Withered Knight build guide covers both weapon branches of the Withered Knight — Mistfall Hunter’s heavy melee frontliner — which are effectively two different builds.
The Greatsword plays a tempo duelist game built around applying the Wither debuff and then cashing it out with heavy-strike executions. The Polearm & Shield trades some burst for blocking, battlefield control, and the class’s unique ability to rescue downed allies from a distance.
Full mechanics for both weapon sets live on the Withered Knight class guide.
Community build guides describe the class as a “momentum” fighter: it wins by keeping pressure up through Wither and punishing reads with Parry, and loses quickly when slow swings whiff. It is more demanding than the beginner-friendly Mercenary, which is why guides tell new players to learn extraction on the Mercenary first.
TL;DR — which Withered Knight build? Greatsword for solo and PvP Wither-and-execute dueling; Polearm & Shield for trio off-tank support and ranged ally rescue. It is a high-skill-ceiling class — stronger in the right hands than most tier lists suggest.
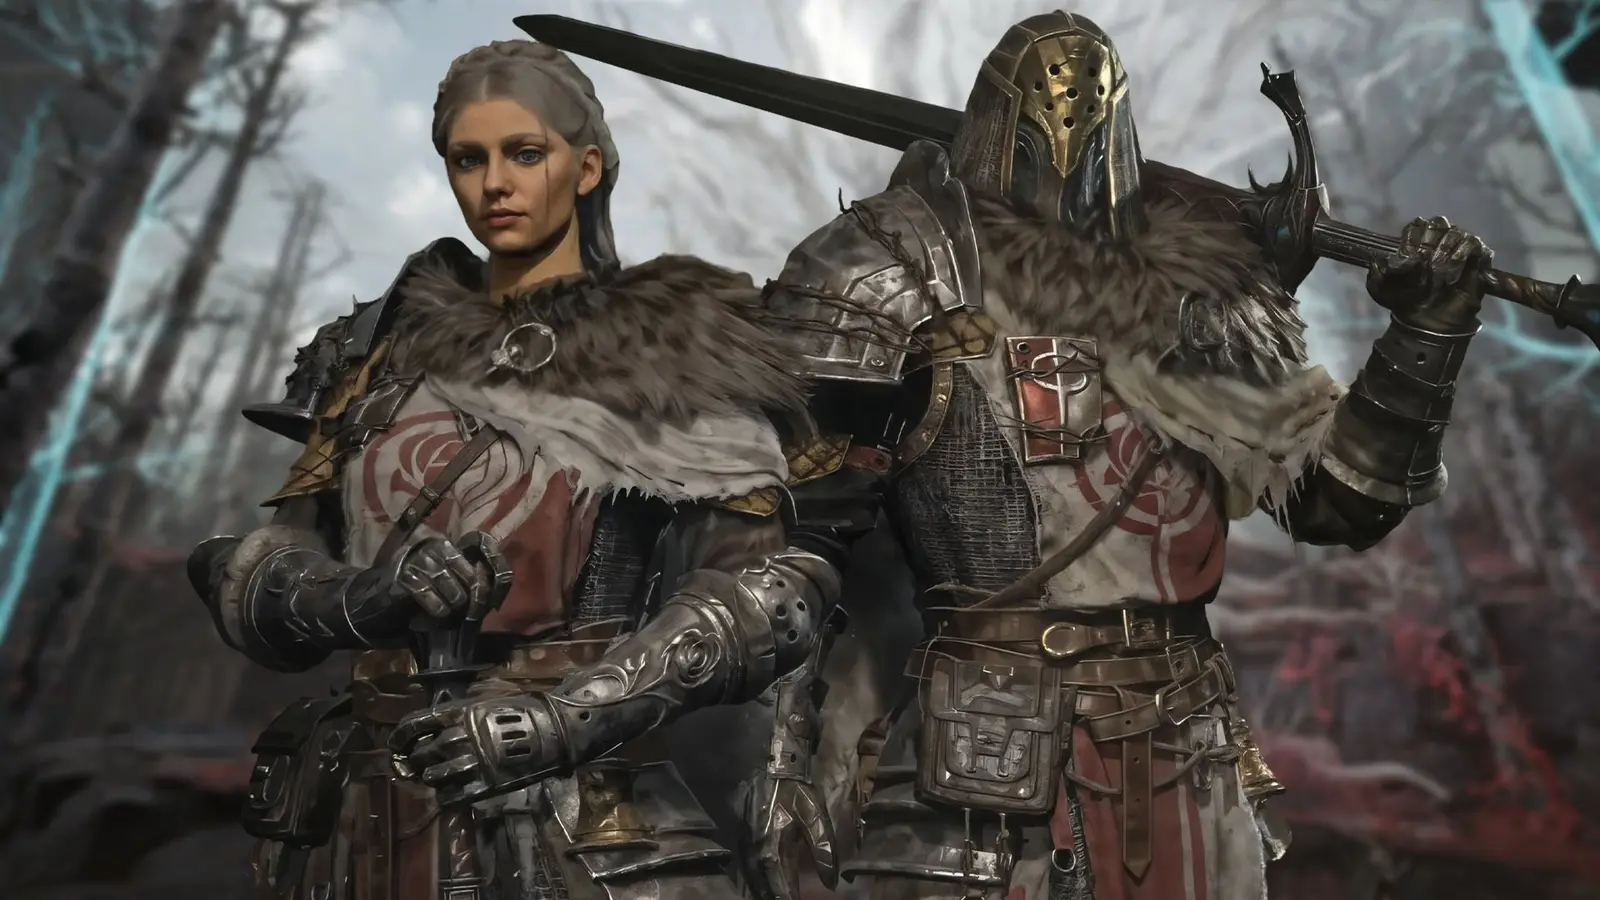
⚠️ August 2026 patch context — read before copying a pre-Aug 6 guide. The August 6, 2026 client update cut the Energy Cost of the Withered Knight’s Sprinting Slash and Withering Mark — a modest buff that lets the Greatsword route keep its Wither-execute loop up longer and reinforces the class’s climb in the meta (it also spiked into Google Trends’ rising searches on August 7). Then the August 7 server hotfix fixed an exploit where a polearm + shield charge-up wrongly triggered the Focused affix’s movement-speed bonus — if you run a Polearm & Shield set with Focused for the movement speed, that bonus now only applies on the affix’s intended trigger, so re-check your build’s mobility plan.
The Two Builds at a GlancePermalink to this section
Last updated: September 2026 — refreshed with the Greatsword-plus-Polearm trio build, the August 19 buff context, and the endgame apex affix priorities.
| Weapon Path | Role | How It Plays | Best Context |
|---|---|---|---|
| Greatsword | Duelist / Bruiser | Wither stacks into heavy-strike executions, parry counterplay, wide sweeps | Solo runs and PvP duels |
| Polearm & Shield | Off-Tank / Support | Blocking, barrier wall, ally rescue, ranged Wither application | Trios and group play |
| Greatsword + Polearm swap | Trio Bruiser | Greatsword carries damage, mobility, and wide attacks; swap to the Polearm & Shield for Intervene’s ally rescue | Ranked trios |
Greatsword Build (Wither and Execute Tempo)Permalink to this section
The Greatsword build runs on the class’s core loop: build the weapon to full charge to enter Judgment, then the next light attack applies Wither to the enemy. All heavy strikes can then execute enemies affected by Wither, converting the debuff into burst damage. **
Withering Mark** applies Wither at range, Parry negates frontal attacks and restores Energy while enabling counter branches, and Thorn Guide pulls the first enemy hit toward you to force contact.
Community guides map these to their own shorthand — ggwtb and TheGameSlayer call Thorn Guide the “Grappling Hook,” and call the Wither-executing heavy finisher “Execute.”
The Wither → Execute Loop (Step by Step)Permalink to this section
The entire Greatsword build runs on one loop, and every combo below feeds into it:
- Charge to Judgment — light attacks and several skills charge the weapon; a fully charged Greatsword enters the Judgment state.
- Apply Wither — the next light attack after Judgment applies Wither to the enemy. Withering Mark and Parry follow-ups also apply it.
- Execute — every heavy strike can execute Wither-affected enemies, converting the debuff into burst damage. Guides call this heavy finisher “Execute.”
- Keep the loop alive — talents extend the cycle: Link Debuffs adds slow, vulnerability, and health loss over time; Crime stops Execute from consuming Wither; Legacy heals you when Wither-affected enemies die.
Core Combos (per ggwtb’s guide)Permalink to this section
- In range: Light Strike → Light Strike → Heavy Strike. Guides warn against mashing lights; the heavy follow-up hits much harder.
- Open or chase: Thorn Guide (Grapple) → Pursuit → Light → Heavy → Execute.
- Defensive read: Parry → (Parry Super Armor) → Pursuit → Light → Heavy.
- Pre-engage: Throwing knives first to start Fervor stacks before committing.
The payoff of the whole loop is Execute damage scaling off Wither. TheGameSlayer’s solo build suggests the legendary Greatsword Mercy inlaid with a Wrath Burst Moonstone for an extra Wrath stack and bonus damage when executing Wither, with Parry, Withering Mark, Javelin Thrust, and Breaker Shield Bash on the loadout.
Affix Priorities (Community-Reported)Permalink to this section
ggwtb’s Withered Knight guide recommends the class build around Tenacious, Fervid, Stoic, Fervor, and Burst — community-reported affix names, not official patch data:
| Affix | What It Does (per guide) | Priority |
|---|---|---|
| Tenacious | Max health plus stronger healing | Very high — take to level 5 early |
| Burst | Stronger Wither Execute damage | Very high — the class-specific payoff |
| Fervid | Bonus damage above 70% HP (about 12.6% in tested purple sets) | High |
| Stoic | Emergency heal near low HP plus resistances | High |
| Fervor | Stacking damage ramp plus penetration | High — preferred over Valor because the Knight attacks fast |
| Valor | Simple always-on attack and penetration | Optional |
The same guide lists gear stat priority as Max Health > Healing Bonus > Physical Damage > Execute/Wither Damage > Defense Penetration > Skill Cost Reduction > Resistances, and notes that blue gear works while purple gear just brings more affix levels online.
Apex affix priorities (August 2026, community-reported). Newer endgame guidance caps 5 Valor + 5 Seamless as the Withered Knight’s core apexes — Valor replacing the table’s lower-value option, Seamless refunding cooldowns after knockdowns. In trios it swaps Tenacious → 5 Unyielding and Vitality → 4 Resilience, matching the two apexes the wider community calls out as trio staples. These names remain community-reported; see the affix guide for the full list.
Talents (Community-Reported)Permalink to this section
- Seize Opportunity — after Thorn Guide or Parry, instantly follow with Pursuit; ggwtb calls this the talent that makes the class feel complete.
- Crime — Execute no longer consumes Wither, keeping debuff pressure alive.
- Link Debuffs — Wither adds up to three effects: slow, vulnerability, and health loss over time.
- Legacy — heal when enemies affected by Wither die (the game’s PvE sustain engine).
- Righteous — Execute boosts physical damage after the burst.
- Parry Super Armor — a successful Parry grants Super Armor so the counter can’t be interrupted.
- Thorns Guide Slow and the Grappling Hook upgrade — chase and isolation tools.
Polearm & Shield Build (Support Frontline)Permalink to this section
The Polearm & Shield branch is the group-oriented build. Its kit provides blocking (Charged Dash, Sacred Bulwark, Rainbow Piercer), immediate Wither application at range (Javelin Thrust, Breaker Shield Bash), and the class’s signature Intervene — a dash to a targeted ally that knocks back nearby enemies and shields allies in range.
Guides position this as the durable, peel-heavy path that raises Withered Knight’s trio value sharply, versus the Greatsword’s solo burst routes.
Post-Launch Hotfix (July 30, 2026)Permalink to this section
The launch-day hotfix buffed this branch specifically, per the official July 30 patch notes: blocking costs less Energy, the first-charge shield rush turns more responsively, normal attack thrusts and spear-formation damage were raised, and Rainbow Piercer’s cooldown and cost were reduced.
The changes make the Polearm & Shield path noticeably more forgiving to play and reinforce its group-tank role — one reason community coverage revised the branch upward right after launch.
Trio Build — Greatsword Core with Polearm UtilityPermalink to this section
Ranked trio players treat the two branches as one build rather than a strict choice. Mobalytics’ Trios Withered Knight Greatsword guide (Aug 27, 2026, written by a Rank 4 NA player) keeps the Greatsword as the main weapon for damage, mobility, and wide attacks, then uses the Polearm & Shield as a utility swap for Intervene — the dash that shields allies and knocks enemies back, and the class’s signature ally-rescue tool.
That pairing resolves the class’s classic trio complaint. In solo the Greatsword already carries full value; in trios the polearm half stops you from being dead weight when a teammate gets caught, while the greatsword half keeps your Wither-execute threat alive. IGN’s Best Withered Knight Build Guide and Code (Aug 13, 2026) reaches the same conclusion from the damage side: it recommends the Greatsword as the higher-impact pick and calls Polearm & Shield the more defensive option — so the trio answer is to run Greatsword as the core and keep the polearm on hand for its utility skill.
For a dedicated support role, fextralife’s Polearm and Shield build guide (Aug 14, 2026) and the class’s ranged Wither tools (Javelin Thrust, Breaker Shield Bash) are the fallback when your team wants a pure off-tank rather than a second damage threat.
August 19, 2026 Patch: The Class Got Buffed Across the BoardPermalink to this section
The August 19 live update was the strongest single patch this class has received, and it directly patches the two weaknesses every guide above complains about (slow wind-ups, interrupt-heavy animations):
- Super Armor on fully charged heavy strikes — the biggest change. High-damage animations can no longer be interrupted out.
- Mobility and speed: Greatsword light strikes, Opportunistic Thrust, Pursuit, and Sprinting Slash all gained movement distance and attack speed — chases that used to whiff now connect.
- Defensive cooldowns: Parry and Breakthrough Charge come back up faster.
- Withering Mark rework: faster projectile speed plus new slow and dodge-reduction effects, making the Wither application much more reliable at range.
- Support kit polish: Joint Pierce applies an enemy debuff, and Radiant Retribution is cheaper and faster to use.
Community reaction after the patch (r/MistfallHunter patch discussion, creator breakdowns) frames the class as the biggest winner of the update, stepping into the aggressive-frontline slot the Mercenary just vacated via nerfs. Expect the tier lists above to shift upward on their next refresh.
Sources: IGN August 19 patch notes , mmoexp patch breakdown
Solo Versus Trio (Community Guidance)Permalink to this section
- Solo: Greatsword burst routes on favorable terrain. Guides note it is viable for experienced players but unforgiving during third-party ambushes, and its slow wind-ups lose to ranged kiting unless you pre-cut approach lanes.
- Trio: Duelist or off-tank — break marks and hold the line while the Mercenary peels, coordinate with Seer heals during long channels.
How the Community Ranks ItPermalink to this section
- KeenGamer’s launch tier list puts the Withered Knight in A-tier as “best frontline control,” noting the final pre-launch balance update buffed the class.
- Game Rant’s build guide calls it a powerful melee bruiser/chaser and “the strongest frontline in terms of damage and resilience,” second-best tank in the game.
- gamer.org’s guide recommends the Greatsword build for solo PvP and the Polearm & Shield for group durability.
- SkyCoach’s playtest-based list is the most conservative — it ranked the Withered Knight C-tier based only on the playtest greatsword, while noting the launch version adds the Polearm & Shield spec with Mercenary-grade defense and reach.
- TheGameSlayer goes furthest, naming the Withered Knight the best solo class in the game for its flexibility — see the best solo class page for how that fits alongside other picks.
The split is typical for this class: most sources rank it from mid-tier to top depending on how much they weight the high skill ceiling of the Greatsword path.
Frequently Asked QuestionsPermalink to this section
What is the best Mistfall Hunter Withered Knight build?
The best Withered Knight build depends on your role. The Greatsword route is a Wither-and-execute tempo duelist built for solo runs and PvP — apply Wither, then cash it out with heavy-strike executions. The Polearm & Shield route is a blocking, ally-rescuing support frontline built for trios, using Intervene and ranged Wither application to protect teammates.
Is the Withered Knight good in Mistfall Hunter?
Community rankings vary with how much they weight the class’s high skill ceiling. KeenGamer puts it in A-tier as “best frontline control,” Game Rant calls it the strongest frontline for damage and resilience, while SkyCoach’s playtest-only list ranks it C-tier — most sources land mid-tier to top.
Which weapon should I use for a Withered Knight build?
Pick the Greatsword for solo and PvP Wither-and-execute dueling, or the Polearm & Shield for trio off-tank support and ranged ally rescue. The two weapon branches effectively play as two different builds.
Is the Withered Knight good for solo or trios?
Both, with different roles. Solo players use the Greatsword burst route, though guides call it unforgiving during third-party ambushes. In trios the class plays a duelist or off-tank that breaks marks, holds the line while the Mercenary peels, and coordinates with Seer heals.
Did the Withered Knight get buffed after launch?
Yes. The July 30, 2026 launch-day hotfix buffed the Polearm & Shield branch: blocking costs less Energy, the first-charge shield rush turns more responsively, thrust and spear-formation damage were raised, and Rainbow Piercer’s cooldown and cost were reduced — making the group-tank path noticeably more forgiving.
What is the best Withered Knight trio build?
Run the Greatsword as the main weapon and keep the Polearm & Shield as a utility swap for Intervene. Mobalytics’ Rank-4-NA trios Greatsword guide (Aug 27, 2026) uses the Greatsword for damage, mobility, and wide attacks, then switches to the polearm to shield and rescue allies — the same Greatsword-first read IGN’s build guide (Aug 13, 2026) gives.
Is Greatsword or Polearm better for the Withered Knight?
For damage and solo or PvP dueling, the Greatsword is the stronger pick because it drives the Wither-execute loop. The Polearm & Shield is the more defensive option and the one to take for a dedicated off-tank or trio-support role, thanks to Intervene and ranged Wither application. Ranked trio players often run both: Greatsword core with a Polearm swap.
Did the Withered Knight get buffed in August 2026?
Yes. Beyond the July 30 launch hotfix, the August 19 live update was the strongest patch the class has received: it added Super Armor to fully charged heavy strikes, raised movement distance and attack speed on key skills, sped up Parry and Breakthrough Charge cooldowns, reworked Withering Mark, and polished the support kit. Community reaction framed the Withered Knight as the update’s biggest winner.
Related pages: Mistfall Hunter Builds, Shadowstrix Build, Seer Build, Mercenary Build, Best Class in Mistfall Hunter, Mistfall Hunter Tier List, Mistfall Hunter Bosses, Hallowgrove.